What Camera Angles are Best for Filming Cricketers?
 Video cameras are amazing bits of kit.
In fact, these days phone cameras are incredible, and with the PV app - which you can download to your smart phone for free - there's no reason not to have a closer, slower, more refined look at your players.
But how do you use yours?
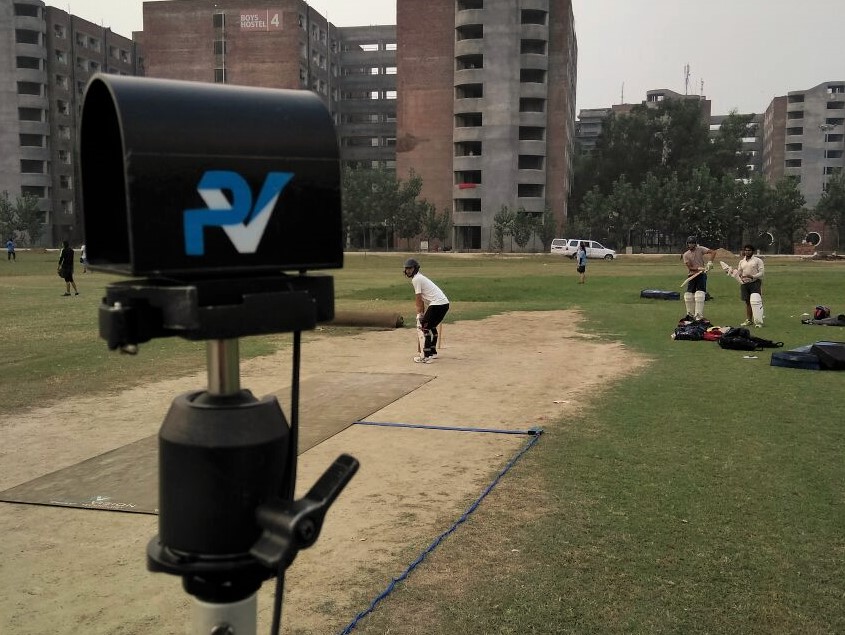
The norm is to set the camera up behind the stumps, often somewhere near the umpire would stand. This works OK for looking at the batsmen, then to have a look at the bowler I see the coach drag the camera back 5 steps to allow the bowler to come into shot from the left (as a right arm bowler).
But is this as good as it gets?
No.
Now that doesn’t mean that what you’ve been doing is wrong, it just means there is more information on offer if you know how to find it.
Filming bowlers
- A view from behind the bowler, in alignment with the direction they’re trying to get their body weight and the ball travelling is a good starting point. This often means getting the camera behind them at the end of their run up, or, moving to a position that’s lined up with their release point (eg. mid crease) and their target (eg. the stumps). You might even find that if you can elevate the camera on a long tripod or table, you’ll get a better picture in relation to the target at the other end. From here you pick up some great information on alignment, trunk flexion, shoulder angle, ball release as well as a host of other factors that will impact on the outcome of the delivery.
- Side on from the “open side”, is the other key angle. This means setting up the camera level with the stumps on the leg side for a right arm bowler. To create a wider angle that takes in the run up and follow through you set up a little deeper. Whereas if you get up close you’ll have a more detailed look at front knee flexion, trunk movement, back leg activity, upper and lower body synchronisation, as well as the usual ball release. Note: any time you’re filming a bowler from side on, crank the frame rate up as high as you can to capture as much information as possible. This frame rate will differ depending on the device and the app you using. But as an example, when using the PitchVision app, I’m able to select FROM 30, 60, 120 AND 240 FPS on my iPhone 6S+.
- There’s another option which can be done in a couple of ways which is worth considering, the front on angle. Again loads of information here regarding alignment, but also information you may not see from the rear view angle that’s really useful and can often get lost. Such as the path of the front arm. Positioning the camera can be tricky as you don’t want it to be hit by the ball, so I recommend you either got behind the net at the batters end where’s its protected, or as low as you can on the floor about a third of the way down the pitch.
Filming batsmen
With batsmen it’s just as important to be aware of the different angles and how you use them to assess the movement of the player as well as the swing of their bat.
- The traditional front on angle from the umpires position is a great perspective to use when assessing balance, movement to the ball and alignment of the bat. You shouldn’t need the frame rate up too high here. So by turning it down to around 60 FPS, you’ll often get a clearer picture (if you’re inside with flickering sports hall lights), and you’ll save yourself a bit of storage on your smart phone.
- If you want to learn a little more about how a player moves and transfers their body weight to and from the ball (back and forth), then a side on angle with a camera set at “point” works a treat. Obviously if you’re using a hard ball make sure your camera is outside the net. Analysing the path of the bat and the length of the hitting zone a batter is creating is another thing that’s dead easy to do from this angle. Although, as with the bowling you may wish to turn up the frame rate to cope with the speed of the bat.
- Finally the rear view of the batter, much like the front on view of the bowler is something worth considering. Primarily because it allows you to have a tight view of their batter, while also seeing how they respond to the stimulus of their ball travelling towards them. This is also my preferred angle to track the position and movement into the point of release so try it out. If you can elevate the camera here so you looking from directly behind and above the batters head then you’ll have a fantastic view point from which to assess things.
My final piece of advice would be to be specific. It’s often tempting to try and take in lots of information about the batter and bowler by using a “funky” 45 degree angle. While you may think you’re getting more of the shot, in reality you’re getting less usable information.
How do you use video to aid improvements?
Sam Lavery is Cricket Professional at Portsmouth Grammar School and co-host of the PitchVision Cricket Show.
- Login to post comments
