Use "Power Positions" to Throw Harder with Less Injury Risk

We had a wonderful throwing based question from Peter on the podcast recently. Peter was coming back from injury of the shoulder and looking to build a throwing technique which would take pain away from that area.
I suggested that he made his throwing action more efficient. This increases power and significantly reduces the chance of throwing injury. So, what does this look like?
We can break it down into several phases, each one leading on from the next.
Phase 1: The table top wrist flick
The last link of the throwing kinetic chain is the wrist. It will be travelling faster than any other part of your body by the time all your forces of come up from the ground, through your body and into your throwing arm.
Place your throwing elbow on top of a tabletop created by the other forearm and hand.
Minimise the movement about throwing for arm and propel the ball with a wrist flick to our partner who is standing no more than 2m away from us.

The aim is to deliver a short distance, flat throw directed straight at your partners chest.
Feel your fingers and wrist directly behind the back and the top of the ball. If we are able to achieve this then it will help us maximise the force that we apply in the direction of our target.
Phase 2: The power position
What we are looking for in a power position is the front arm to create a "C" shape.
The elbow points towards the target (not the the front hand).
This C shape should be level with the shoulder. This can be seen in the picture below.
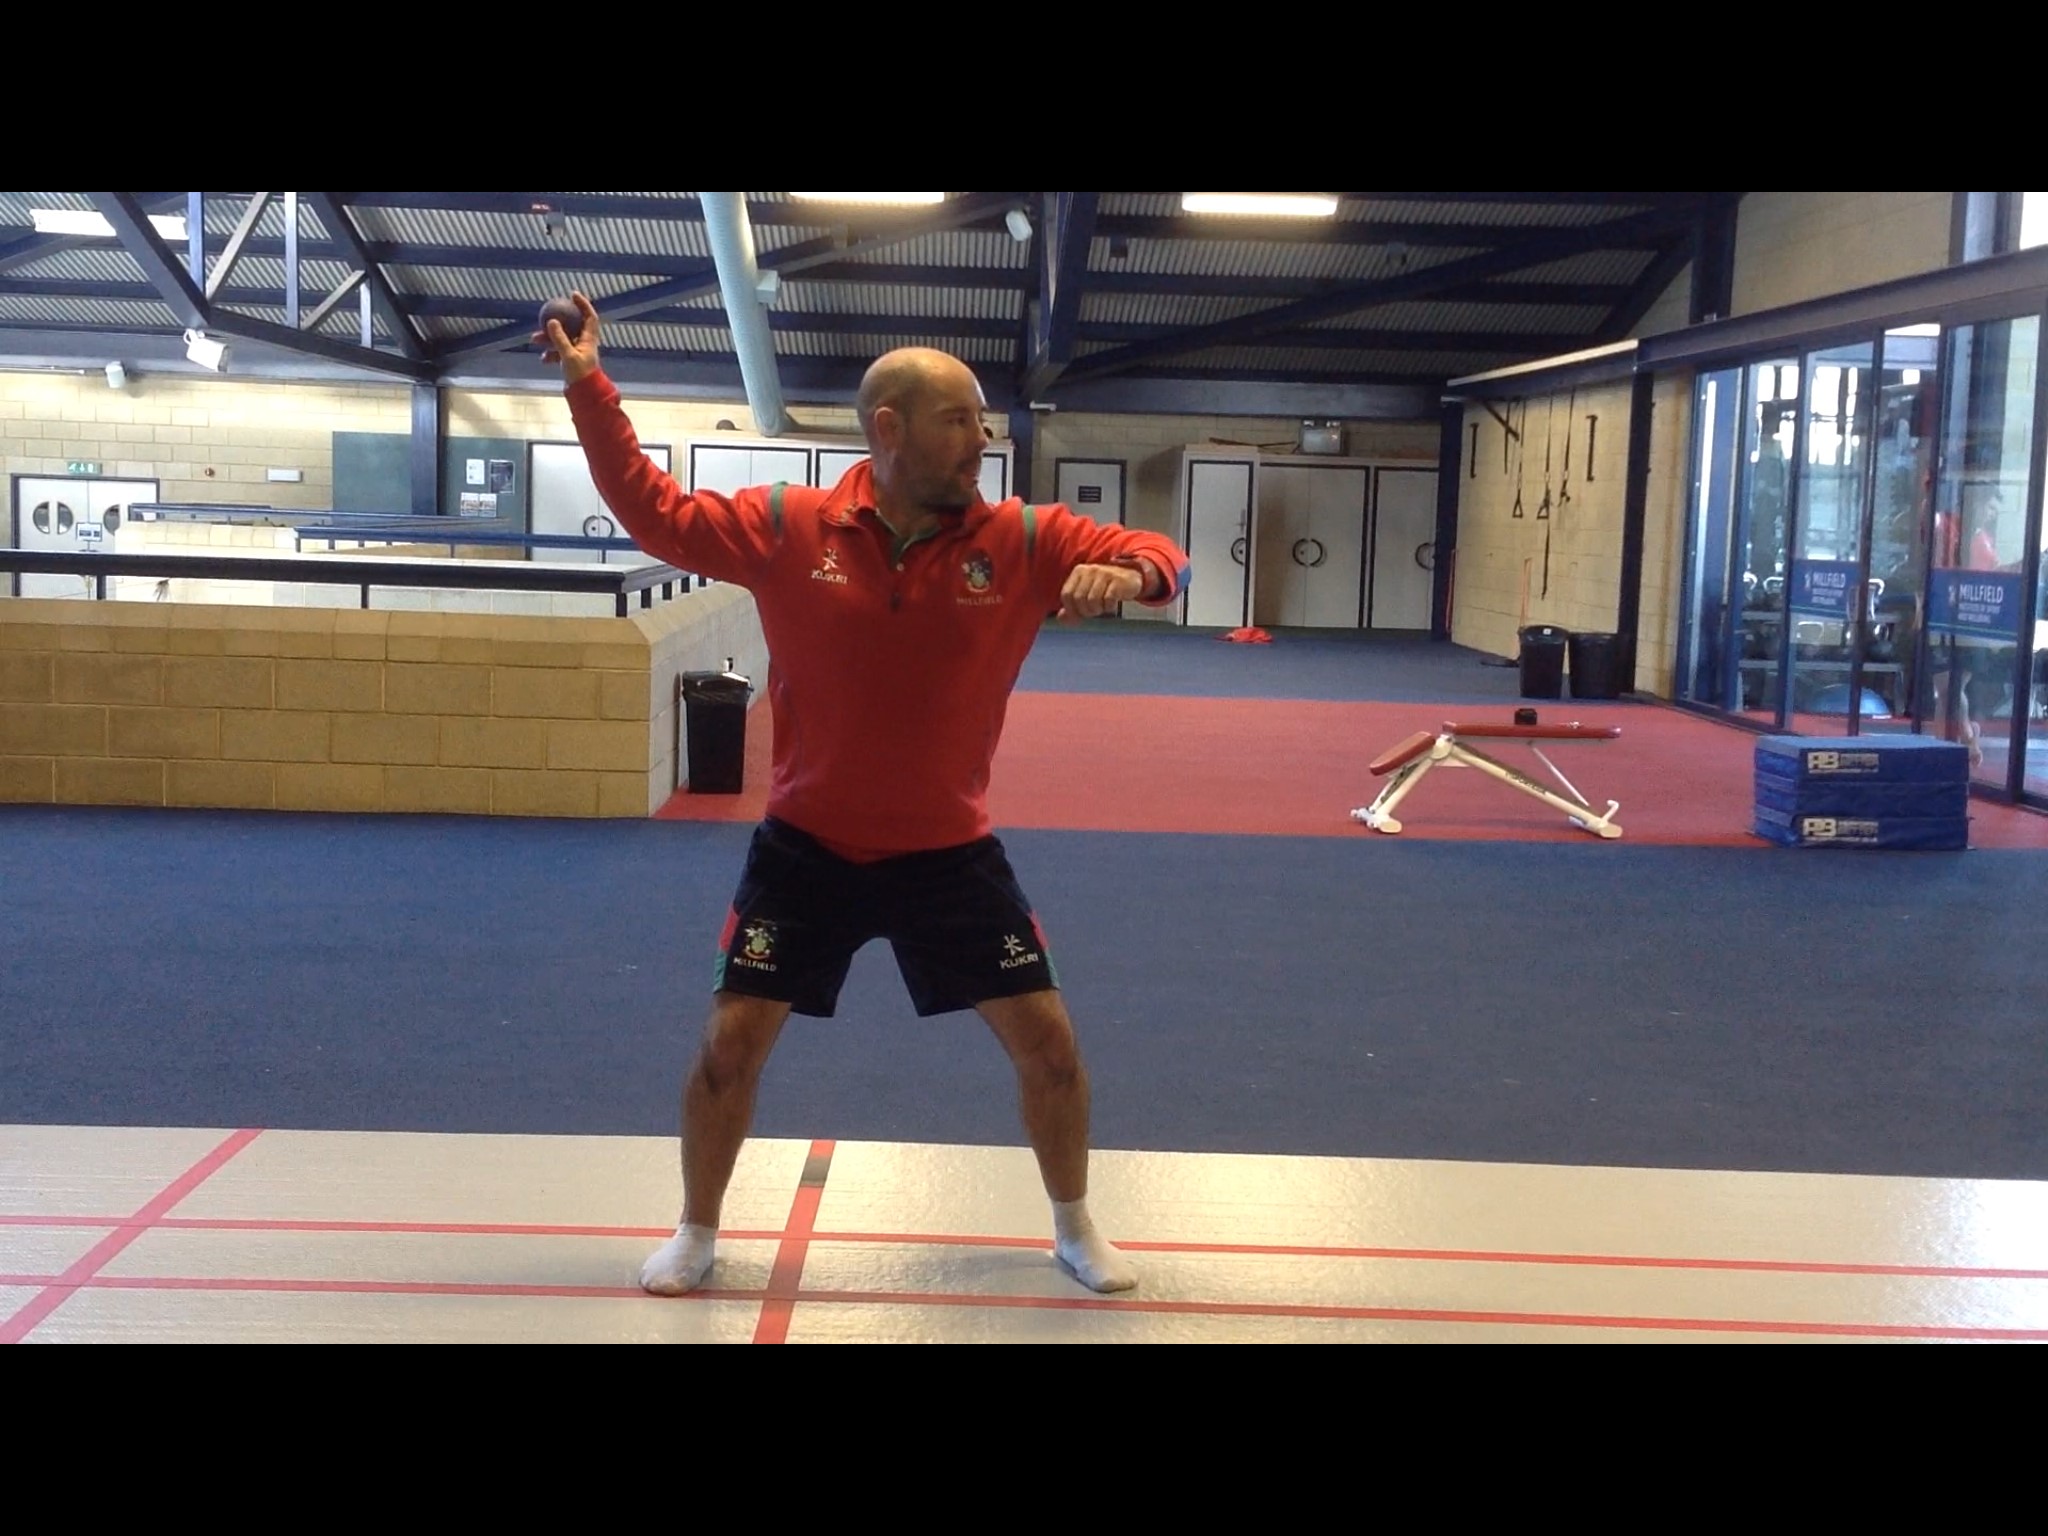
The throwing arm should look like an "L" with the ball pointing away at the top of the throwing circle.
It's crucial that the angle of the "L" is between 90-110 deg. If the angle is less than 90 degrees then it puts a huge amount of pressure on the elbow, shoulder and impedes power production when we put the elbow and throwing arm forward ahead of release.
The shape of the throwing hand at the back of the throwing circle resembles a 'snake-bite'. This ball points away from the target. The benefit of the ball being in this position is that as the body rotates, the hand will come through last and the fingers will be directly behind the back and top of the ball.

Most people have the ball facing the intended target at the top of the throwing circle and this leads to the fingers throwing the side of the ball at point of release. The result is that side spin is applied to the ball which negatively impacts on release speed, accuracy and power.
The way to practice this is to stand in an athletic throwing position with the feet wide apart. Place a ball in the throwing hand and hold your hands together at the bottom of the throwing circle.
The hands part. The front arm raises to the "C" position and the throwing hand passes the thigh into the "Power L" position at the back of the throwing circle.
Check at this point for the angle of the throwing arm, look to see what alignment it takes as the ball should be visible to a front on camera and watch to see if the "snakebite" is on show.
Repeat this motion 4 times to learn the movement and then on the 6th the front arm closes like a chicken wing into the side of the body.
This helps pull through the throwing side of the body in and ensures that the throwing arm moves in an appropriate plane on the way to release.
Throw the ball with minimal effort (you are throwing for form, not pace here) and then finish the throwing arm with a long reach down towards your shin.

This will spread the "deceleration" phase over a longer period of time and range. Many people injure their shoulders because they cut the follow through off short, which means that the throwing arm decelerates far too quickly.
A short and sharp follow through causes a braking motion which is similar to a car slamming on the brakes. The shoulder is the passenger who is hurled forward against the seat belt and then pulled back into the seat. It's a huge jolt.
Then compare this to a gradual braking process over 70 metres before coming to a gentle stop. That's what finishing at a fully range will feel like to your shoulder.
Phase 3: Add in follow-through step
The follow-through is absolutely crucial in keeping the throwing shoulder healthy and meaning that we can throw over a long period of time with great effectiveness.
In addition to the long and deep reach with the throwing arm, we now also incorporate a step through at this phase of the drill.

In exactly the same way as a fast bowler, the follow-through stride helps us to decelerate more effectively and over a longer time and range.
All we do in addition to phase 2 is add this step.
Phase 4: Starting square
All good fielders use their feet brilliantly before they pick the ball up. As a result they ensure that their body is relatively square to their target as they make contact with the ball.
This also has a very positive effect on the upcoming throw as the movement from the square to sideways back to square again facilitates significant levels of torque in the mid-section of our body. This adds power and pace to the throwing action.
All we do in this phase is start off square to our target before stepping forward with our back foot. This takes us into our power position.
We then pull our arms through and then finish with that long reach and follow-through step.
Phase 5: One fluid motion
Just speed up the motion of Phase 4!
Rules:
- Listen to your body, it will tell you when you are ready to make the transition to the next phase.
- As a basic guide, do sets of 6 throws in each phase. Repeat the sets until you feel that you have mastered that phase.
- Throw no more than 40 throws in any session.
- If you only get to phase 2 in those 40 throws then start your next session at Phase 2 and go again.
- If your shoulder starts to get sore then stop. Your body is giving you feedback on either your technique or your throwing volume.
- Login to post comments

Comments
I'm really loving the theme/design of your blog. Do you ever run into
any browser compatibility problems? a total noob few of my blog visitors have complained about my site not operating correctly in Explorer but looks great in Opera.
Do you have any solutions to help fix this problem?